Deploying your bot
You can deploy your bot to mostly any channel (web, Facebook messenger, Whatsapp, phone) using our Dialogflow integration.

Preparing your agent for Deployment#
To prepare your agent for deployment, follow the below instructions to create your own free Dialogflow ES (Dialogflow Essentials) agent and connect it with your Narratory bot.
The same steps as in the video are outlined here:
- Open your browser and go to Dialogflow ES console
- Create a new Dialogflow ES agent.
Important: We strongly suggest picking the default US region since this is the only region supporting Dialogflow's built-in integrations. If you have your own integration built, you can pick the region closest to your users.
- Go to the Google Cloud Service Account page.
- If this is the first time you enter the Google Cloud console, you will have to accept the terms and conditions
- If you are asked to select a project, pick the one named the same as your Dialogflow agent.
- Once on the Service account page, create a new Service account:
- In the first step, name it "narratory".
- In the second step, give the service account the role "Dialogflow API Admin".
- Skip the third step by just pressing continue.
- Once the service account is created, press the dot-menu under Actions and create a key of type JSON and download it to your device.
- Copy-paste the JSON key into your Narratory agent's settings pane under Deployment settings.
- In Deployment settings, also remember to select the same region you selected when you created your Dialogflow ES agent (likely the default region US).
Deploying your agent#
On the Narratory side, pressing the Deploy button on the main workspace will deploy the agent to your Dialogflow project.
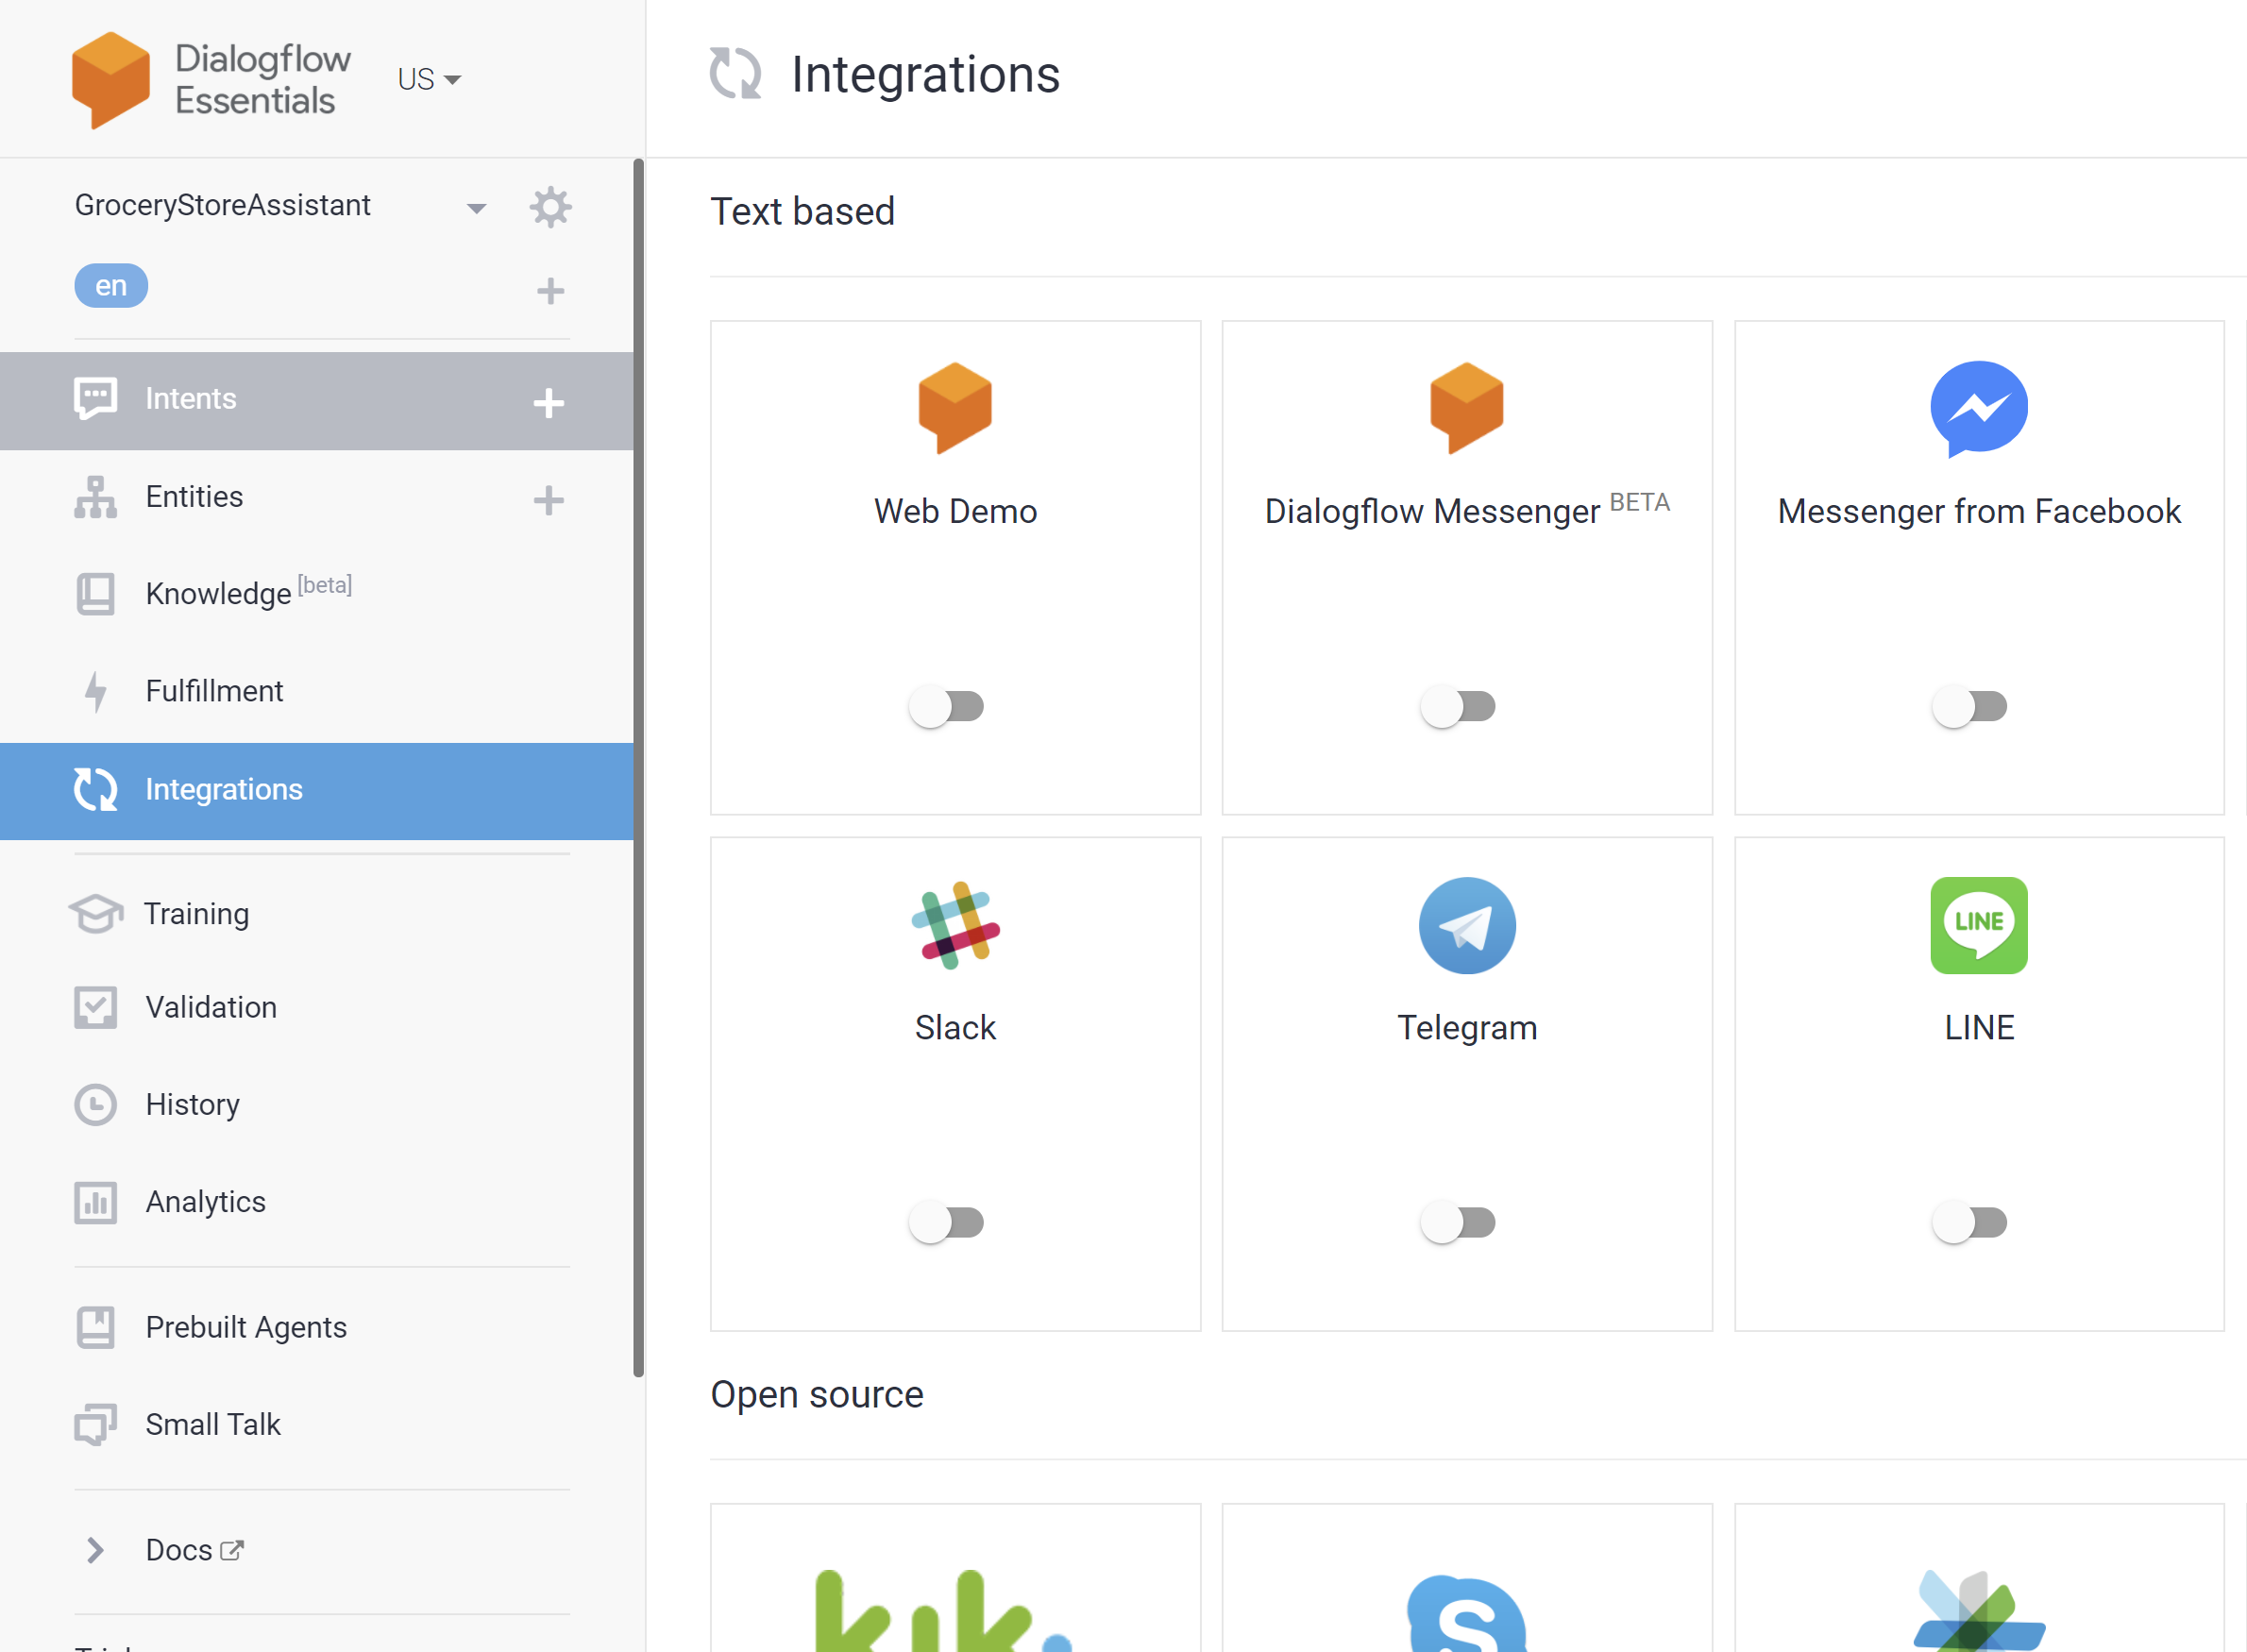
Once this is done, you can activate any of Dialogflow's supported channels (for example Facebook messenger and their own Dialogflow messenger for web) in the integrations tab of the Dialogflow console (See documentation here).
